How To Square Belt Ends Using the Center Line Method
Accurate squaring of the belt ends prior to lacing is essential to correct belt tracking and helps distribute stress evenly throughout the joint.
Accurate squaring of the belt ends prior to lacing is essential to correct belt tracking and helps distribute stress evenly throughout the joint.
It is important to note that belt ends are not necessarily square when they are shipped. Further, the width-wise fabric wales are not necessarily square to the belt's longitudinal axis. These cannot be used as guides to cut the belt ends.
To properly square the belt ends, we recommend the center line method.
Squaring Ends Using the Center Line Method
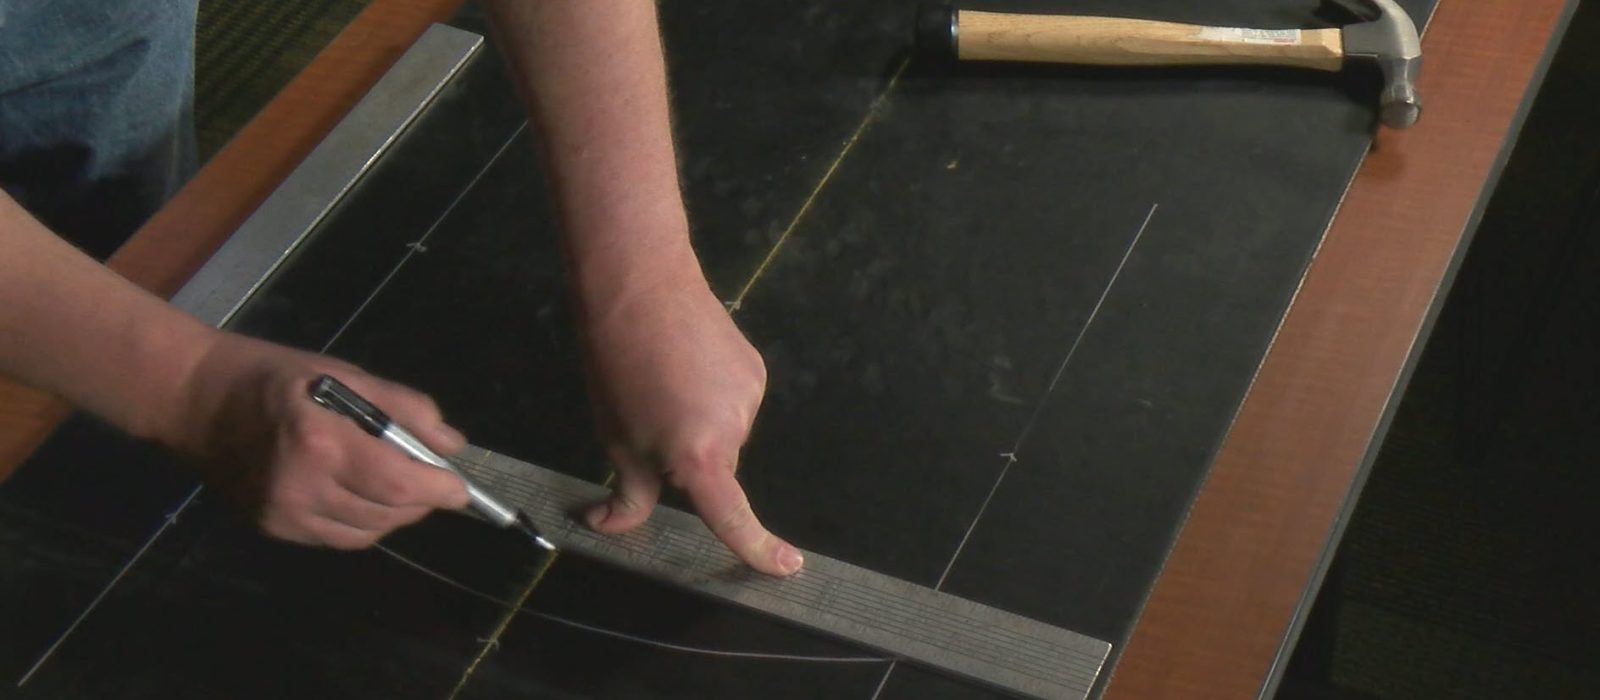
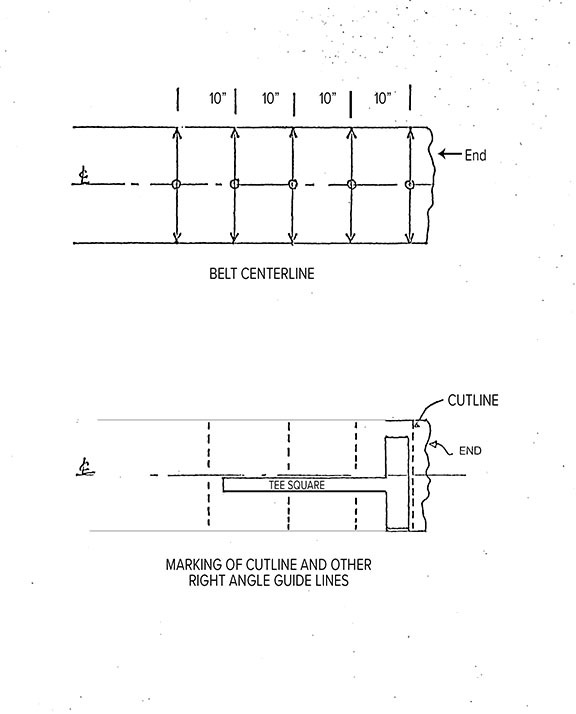
To establish the belt center line, start near the belt end as shown in the following figures. Measure the belt width at five points approximately 10" apart. Divide each measurement in two and mark these center points as shown.
Using these five center points draw the resultant average center line. Next, using a carpenter square (or tee square), draw a cut line across the width of the belt near the belt end as shown. It is also a good idea to mark several right-angle reference lines across the belt surface for use as guidelines later on.
Using the cut line as the guide, cut off the end of the belt with a sharp razor knife. Make sure that the cut is clean and vertical. This operation should then be repeated on the other end of the belt. (Keep in mind that the final belt length may need to include an allowance for such things as diagonal splice, skive taper length, skive overlap, fastener extension, etc. depending upon what kind of splice is being performed).
Double Intersecting Arc- An Alternative Method
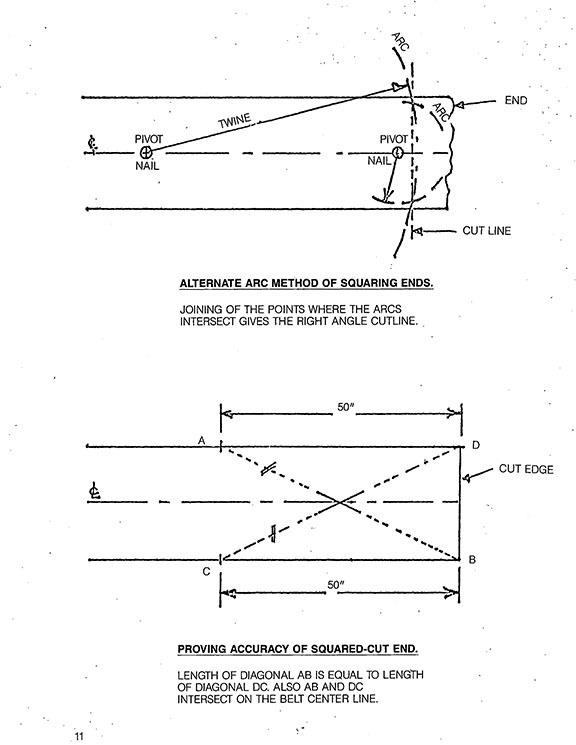
An alternative method of squaring belt ends is called the ''double intersecting arc" method. Please note that this is in truth a double arc.
First, establish the center line as indicated previously. Once that center line has been established, pick a point on the center line and approximately 2 or 3 times the belt width from the belt end. An arc is now struck, as shown in the following sketch.
A nail can be used as the pivot point and a length of twine as the arm of the arc. A pencil or crayon can be tied to the other end of the twine to serve as the marker of the arc.
The second set of arcs is now struck as shown. The pivot point in this case is on the center line and is close to the belt end. The arc length is slightly less than one-half of the belt width. Now draw a line from one pair or intersecting arcs to the other. This is the cut line. This line is perpendicular to the center line of the belt.
All Blog Posts
Do You Need Help Squaring or Tracking your Conveyor Belt? Contact Us Today With Your Belting Questions.
Contact A Sparks Representative